Multichannel Preview in Magnolia
Confucius once said that “life is really simple, but we insist on making it complicated.” In the context of software, people often feel that their lives would be much simpler if the software they use on a daily basis could do one specific thing. In many cases, the software already has the desired capability, and we just need to look in a different place.
For content authors, one such thing is easily previewing multichannel experiences on a real mobile device. Besides viewing the page on the smaller screen, a real device allows the use of the touch screen to test motions such as scrolling, swiping or turning the display.
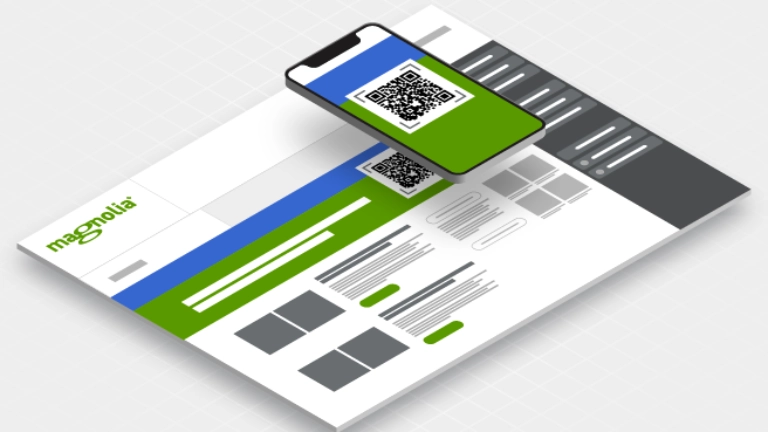
Rather than using Bluetooth or a complicated setup, Magnolia authors can use their camera to open a page on a mobile device. By displaying a QR code for the page URL in Magnolia’s editor, authors can simply scan the code with a mobile phone or tablet to open the URL in the device’s browser. Let me show you how to set this up.
Setting up a QR code for mobile preview
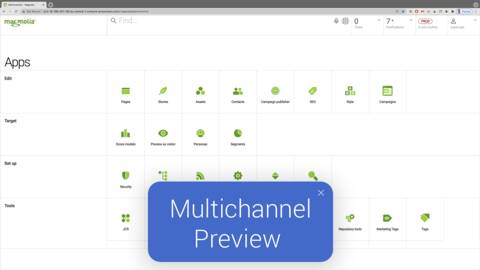
Magnolia provides an app called Marketing Tag Manager out of the box, enabling content authors to quickly insert marketing tags across a website without the help of a developer. Tags typically collect analytics information or integrate with marketing automation tools. However, there are some special use cases like creating a QR code for the preview of pages on a mobile device.
Open the app, create a new tag and give it a name. Also, tick “Active on author” and change the value of the “Tag location” to “end of the body” to ensure there’s no negative impact when loading your page:
Select the second tab called “Content” where you can insert the marketing tag. Typically, the tag code is a JavaScript snippet. In this case, you’ll copy and paste code from this blog post.
Generating a QR code for the page URL
To get the QR code to open the current page, the first step is to retrieve the page URL. Magnolia provides a function to do so that can be used within the tag:
${state.getOriginalURL()!}
Add the exclamation mark at the end so that Magnolia knows that it’s safe to return an empty value, in case the call to get the URL fails.
Next, you need to generate a QR code from the URL. There are a number of services that allow you to do that. For this article we’ll use the QR code generator API provided by goQR.me. You only need to specify 2 parameters: the size of the QR code image you want to generate and the data to store in the QR code. In this example, the data is the page URL.
https://api.qrserver.com/v1/create-qr-code/?size=150x150&data=${state.getOriginalURL()!}
Now you just have to add the returned QR code image into an image tag:
<img src="https://api.qrserver.com/v1/create-qr-code/?size=150x150&data=${state.getOriginalURL()!}">
At this point, you have created a basic version of the dynamic QR code.
Positioning the QR code
Instead of displaying the QR code in a fixed position, wrap the image in a div tag and add style properties:
<style>
   #QR_mobile_preview {
      display: none;
      position: fixed;
      z-index: 90000;
      right: 0;
      top: 0;
      width: 170px;
      height: 170px;
      padding: 10px;
      background: white;
   }
   @media screen and (min-width: 1024px){
      #QR_mobile_preview {
         display: block;
      }
   }
</style>
<div id="QR_mobile_preview">
   <img src="https://api.qrserver.com/v1/create-qr-code/?size=150x150&data=${state.getOriginalURL()!}">
</div>
This code lets the image float in the top right corner. It also hides the image on a narrow screen, so that it won’t be visible on mobile devices.
To make the QR code visible only when authoring and previewing a page, wrap the entire code in a conditional statement:
[#if cmsfn.isAuthorInstance() && cmsfn.isPreviewMode()]
   <style>
      #QR_mobile_preview {
         display: none;
         position: fixed;
         z-index: 90000;
         right: 0;
         top: 0;
         width: 170px;
         height: 170px;
         padding: 10px;
         background: white;
      }
      @media screen and (min-width: 1024px){
         #QR_mobile_preview {
            display: block;
         }
      }
   </style>
   <div id="QR_mobile_preview">
      <img src="https://api.qrserver.com/v1/create-qr-code/?size=150x150&data=${state.getOriginalURL()!}">
   </div>
[/#if]
If you have not typed along, you can copy and paste the above code snippet into the field “tag code”.
Setting up the QR code for multiple pages
Before you save the new tag, you have to configure the pages where to display the QR code.
Switch to the “Pages” tab and check the “Insert in subpages” checkbox. Then set the path to “/” specifying that the QR code should be displayed on all subpages of your website.
Hit the “Save changes” button, and you are done.
There is no need to publish the tag, because you will only ever want to use it on the author instance.
Test the QR code
Go to the Pages App and open any page. Switch to “Preview page”. You should see the QR code in the top-right corner:
Scan the QR code with your camera. It should automatically recognize the QR code and prompt you to open the URL. This feature is available in the camera app on iPhone and Android Pie (2018) and later. Other devices may require a third-party app to read QR codes.
When you open the link, Magnolia asks you to log in, because you are trying to preview content on the author instance.
Personalization and Optimization
Accelerate improvement with personalization, analytics and optimization without touching any code. All in one screen in Magnolia.
Previewing personalized pages
If you are using personalization, you can use the QR code for personalized pages, too.
Open the “Preview as visitor” app, set the target segment or persona, and preview a personalized version of the page.
Video walk-through
To see how the QR code is created, watch my video below.

